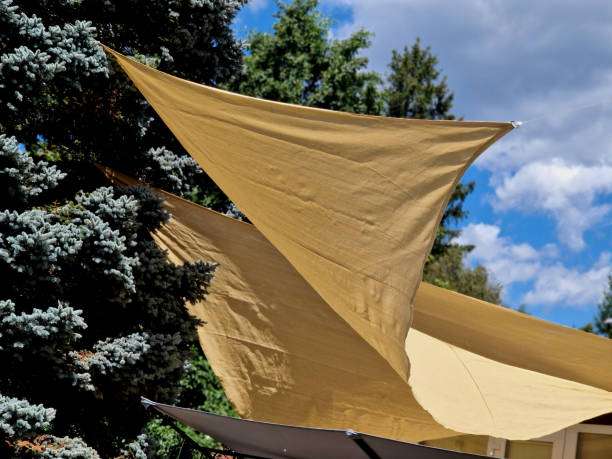
The shade sail sags after installation: it’s not due to poor quality, but rather because these details were overlooked.

encounter the same problem after installing Shade Sail for the first time: it looks fine right after installation, but after a period of use, it sags noticeably. The original clean lines and strong lines gradually become loose and saggy, which not only affects the appearance but also greatly reduces the sunshade effect and may even pose a safety hazard on windy days.
In fact, most cases of sagging after installation are not due to a problem with the product itself but rather the result of a combination of factors, including installation method, stress design, material properties, and usage environment. This article will systematically analyze the real reasons for shade sail sagging and provide actionable optimization strategies to help you solve the problem at its root.
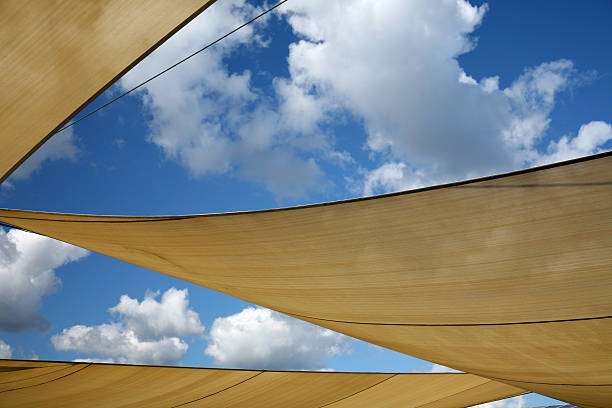
Why does it still sag even though it “looks like it’s installed correctly”?
A shade sail is essentially a system that relies on tension for structural stability. If any part of it deviates from its intended form, the overall structural integrity will be compromised.
Shade sailing is often not a sudden occurrence but rather a gradual, cumulative process.
Analysis of the core reasons for sagging after installation
1. Insufficient initial tension is one of the most common causes.
Many people subconsciously think that “just tightening it is enough” during installation, but in reality:
A shade sail needs more pre-existing tension than intuition suggests.
If you rely solely on pulling by hand during installation, the tension is usually insufficient.
Insufficient initial tension will inevitably lead to sagging later.
After being exposed to sunlight, wind, and temperature changes for the first time, the fabric will stretch slightly and will quickly become visible if there is not enough leeway.
The shade sail is not attached but rather pulled out.
2. The installation point height is unreasonable, resulting in concentrated gravity.
The shade sail has a significant impact on whether it will sag:
When the four corners are at similar heights, a “pocket” shape easily forms in the central area.
No tilt angle → Gravity and rainwater combined
Horizontal installation → Sagging is almost inevitable
The proper installation method for a shade sail should ensure that at least two corners have a significant height difference so that the shade sail is under continuous stress.
3. Insufficient strength at the fixed point leads to “hidden displacement.”
On the surface, the fixed point seems to be working fine, but in reality, it is quietly “making concessions,” which is something many users overlook.
Frequently asked questions include:
The wooden pillar was not reinforced and shifted after being subjected to tension for a long time.
Insufficient specifications for wall expansion bolts
The metal support wall is too thin
The tension is constant; as long as there is even a millimeter-level displacement at the fixed point, the whole thing will sag noticeably.
4. The material’s “ductility” has been underestimated.
Shade sails made of different materials have completely different sensitivities to sagging:
HDPE: Good air permeability, but has structural elongation.
Polyester: Initially stable, but exhibits significant thermal expansion and contraction.
Coating: Heavy and requires higher tension
If no space is left for material stretching during installation, Shade Sail will naturally become loose after being exposed to the sun.
5. Incompatible installation parts prevent the tension from being maintained for an extended period.
Whether or not the accessory sags is often underestimated.
The problem usually lies in:
Use ordinary ropes instead of steel cables
Lacking tensioning devices such as turnbuckles
Insufficient latching level, resulting in slippage.
A professional shade sail system must have adjustable tension.

6. Environmental factors are overlooked: wind, rain, temperature differences
Even if Shade Sail is installed correctly, the environment will still gradually change its state:
Repeated pulling by strong winds → Fabric fatigue
Water accumulation increases weight → Central area deforms
Diurnal temperature difference → repeated expansion and contraction of materials
This is why many Shade Sail products only start to sag noticeably after a season of use.
Sagging is not just an aesthetic issue
Many people think that droopy shade is just “unattractive,” but it can actually have other consequences:
Reduced shade area
Excessive localized stress accelerates aging.
Increased wind noise
Increased risk of fixed-point structures
A drooping shade sail is essentially a signal that the structure is already out of balance.
How can we fundamentally prevent a shade sail from sagging?
1. During installation, it was “over-pulled” instead of “just right.”
Professional installation often involves:
It felt slightly tight during the initial installation.
Predicting material relaxation in the later stages
Leave room for secondary adjustments
Shade Sail is not a one-off project but an adjustable system.
2. Design reasonable height difference and tilt angle
suggestion:
The height difference between two adjacent corners is ≥ 30–50 cm
A shade sail is generally sloping.
Avoid perfectly horizontal installation
This not only reduces sagging but also prevents water accumulation.
3. Use the professional Shade Sail accessory system
Including but not limited to:
Stainless steel cable
Flower basket screws
High-strength D-ring
The purpose of these accessories is not “installation,” but to maintain tension over a long period of time.
4. Conduct regular checks, rather than waiting for problems to occur.
The ideal way to maintain a shade sail is:
Make minor adjustments after 1–2 months of use.
Check fixed points during seasonal changes
Reaffirming Tension After the Storm
FAQ:
Q1: Will it sag after prolonged use?
A: With proper installation and maintenance, the sagging is very limited. Significant sagging usually stems from installation or structural problems.
Q2: Does a thicker
Does the shade slide prevent it from sagging? A: Not necessarily. A thicker shade slide actually requires a higher tension system; if the fittings and fixing points are not in place, it is more likely to sag.
Q3: Can sagging be resolved by tightening again?
A: Mild sagging can be resolved by tightening again, but if the fixing point has shifted or the structure is deformed, tightening alone cannot completely solve the problem.
Q4: Will sagging affect safety?
A: Yes. Sagging changes the direction of force, increasing the risk of tearing or falling off in strong winds.
my Shade Sail sags more easily
after it rains? A: Check for areas of water accumulation and adjust the installation angle.
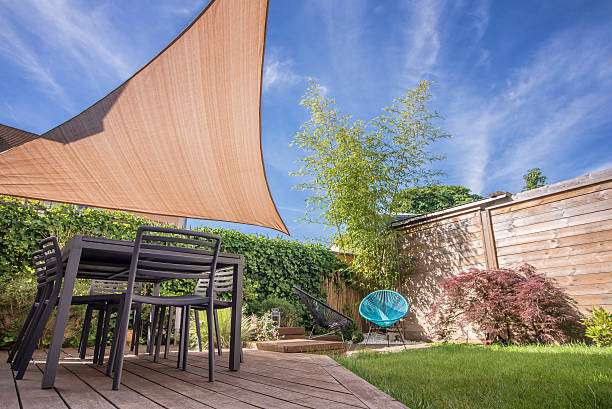
Conclusion:
It is never just “a piece of cloth,” but a system composed of materials, tension, structure, and environment.
When the shade sail starts to sag, it’s actually a reminder that something needs to be re-examined.
If you want to maintain a crisp silhouette and consistent sunshade effect after many years of use, it is recommended to start with professional design, suitable materials, and a complete accessory system.
Choosing a mature Shade Sail solution with complete accessories is often more worry-free and safer than making repeated adjustments.